Setting up a home theater used to mean hiring professionals and spending months on installation. These days, homeowners and DIY enthusiasts can achieve theater-quality sound with JBL home theater systems, no contractor required. Whether you’re upgrading a small apartment living room or building a dedicated media space, JBL offers flexible, approachable solutions that deliver genuine impact without the complexity. This guide walks you through selecting, installing, and optimizing a JBL system for your home, with practical advice tailored to real-world spaces and budgets.
Table of Contents
ToggleKey Takeaways
- A JBL home theater system can deliver theater-quality sound without professional installation, making cinematic experiences accessible to DIY homeowners and renters.
- Start with a 2.1-channel soundbar-plus-subwoofer setup ($300–600) for small rooms, or invest in a 5.1-channel system ($800–1,500) if you have a dedicated media room or large living area.
- Proper placement is critical: position soundbars 12–18 inches below your TV, mount surround speakers 1–2 feet above ear level at 90-degree angles, and keep subwoofers on hard flooring away from corners when possible.
- Use a stud finder with live wire detection before drilling, always secure soundbars into wall studs or heavy-duty anchors, and check local codes for in-wall cable requirements to ensure safety and compliance.
- Run the system’s built-in calibration mic and make subtle EQ adjustments (2–3 dB bass boost, flat treble) rather than maxing all settings; dialogue enhancement mode and proper subwoofer level balancing transform perceived audio quality.
- Room furnishings like rugs, curtains, and soft furniture reduce reflections and echo naturally, while 4K Blu-rays and object-based audio content (Atmos, DTS:X) showcase the full capabilities of your JBL setup.
What Makes JBL Home Theater Systems Stand Out
JBL has decades of audio engineering behind it, and that heritage shows in how their home theater systems balance performance with accessibility. Their approach focuses on delivering clear dialogue, punchy bass, and immersive surround sound without requiring a rack full of amplifiers or a degree in acoustics.
What sets JBL apart is their range. You get everything from compact soundbars that do double duty in small rooms to modular systems where you can add speakers incrementally. Their systems often integrate subwoofers with built-in crossovers, meaning less cable management and fewer settings to wrestle with. Wireless connectivity (Bluetooth, WiFi) is standard on most modern JBL theater packages, which beats running speaker cables through walls if you’re not keen on that part of the install.
JBL also prices competitively without cutting corners on component quality. A mid-range JBL soundbar typically uses multiple drivers, tweeters for highs, mid-range drivers, and woofers for lows, rather than cramming everything into a single speaker. That design choice directly affects how movies and music sound. According to soundbar comparisons, JBL consistently ranks among the top choices for value and performance in 2026.
Choosing the Right JBL System for Your Space
Before you order anything, measure your room and think honestly about how you’ll use it. A JBL system that sings in a 12-by-15-foot bedroom might feel thin in a 20-by-25-foot living room. Room size, furniture, and whether the space is dedicated media-only or multi-purpose all matter.
Budget-Friendly Options for Small Rooms
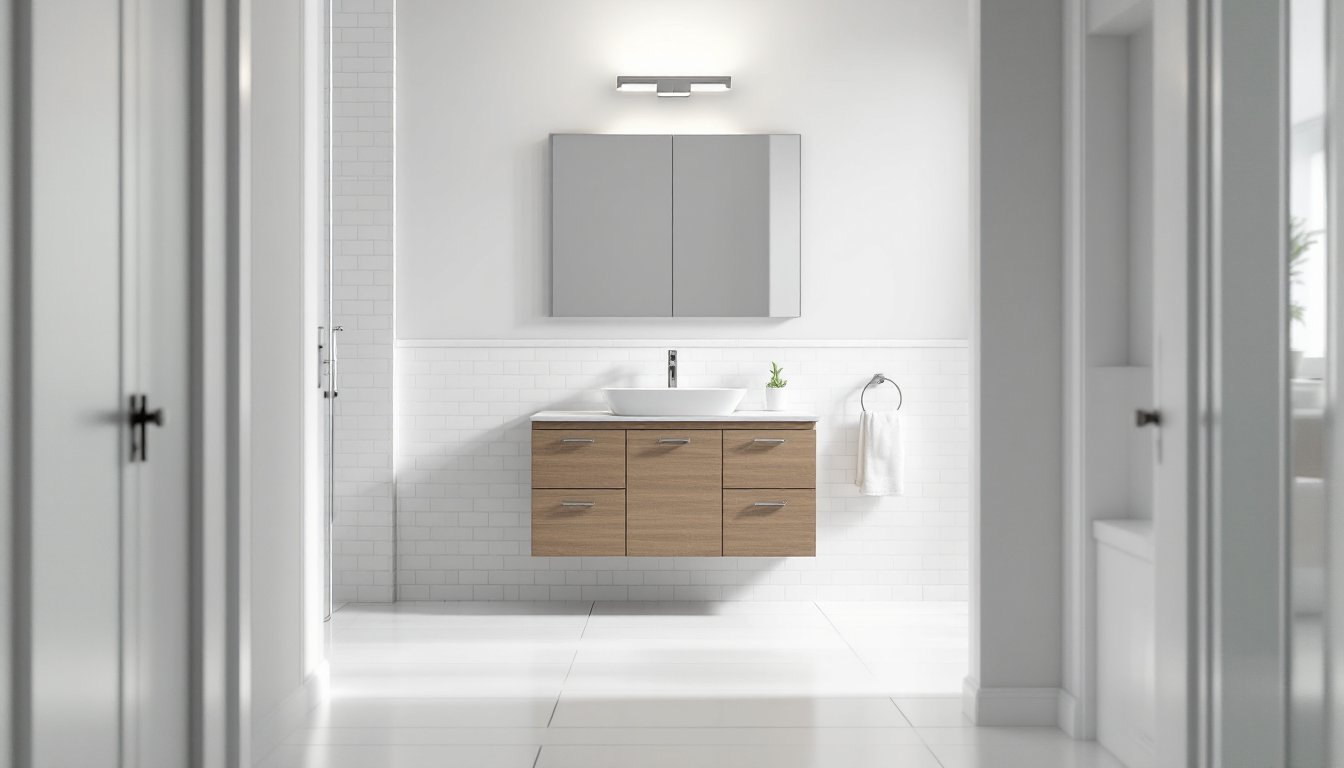
If you’re working with a modest space, or a modest budget, start with a JBL soundbar paired with a wireless subwoofer. A 2.1-channel system (soundbar plus sub) costs $300–600 and handles 90% of what people want from a home theater: clear dialogue, punchy explosions, and bass that you feel. These systems sit flush on a TV stand or mount directly beneath a wall-mounted display.
Room placement matters here. Position the soundbar 12–18 inches below your TV, centered. If your room is narrow or the TV is in a corner, angling the soundbar slightly toward the seating area helps. The wireless subwoofer can go in a corner or against a side wall, bass is less directional than dialogue and effects, so placement has more flexibility. Make sure the sub sits on a hard floor (not carpet directly), which improves bass transmission into the room.
For apartments or renters who can’t drill into walls, a soundbar-plus-sub setup is ideal. No surround speakers to worry about, no running cables behind baseboards. Setup takes 15 minutes: unbox, power on, pair via Bluetooth or WiFi, and done.
Premium Systems for Dedicated Home Theaters
If you have a dedicated media room or a large living area, consider a 5.1-channel system or larger. This means soundbar (center and front left/right), two surround speakers (left and right), and a subwoofer. Budget $800–1,500 depending on model and features.
A 5.1 setup needs more planning. Surround speakers should mount on side walls, 1–2 feet above ear level when seated, about 90 degrees to the viewing axis. If you can’t drill (renters, careful wall condition), speaker stands offer a cable-free alternative. Run speaker wires along baseboards or, if you’re willing to invest, use in-wall speaker cable and run it inside walls before drywall is closed.
Before drilling or running cable, check your walls for studs, electrical lines, and plumbing using a stud finder with live wire detection. Most building codes require speaker cable runs in-wall to use plenum-rated cable (rated for fire safety), and running new circuits or cables inside finished walls typically doesn’t require a permit, but check your local codes to be sure.
Advanced JBL systems often support Dolby Atmos (a height channel that creates overhead sound effects) or DTS:X. These formats add a sense of height and three-dimensionality to action scenes and music. If you go this route, plan for ceiling-mounted or upward-firing speakers. Again, measure twice, drill once. Most in-ceiling speakers require access from above: if your room has an attic, that’s straightforward. If there’s a second story above, you’ll need to access from that floor or hire an electrician familiar with in-ceiling work.
According to comprehensive soundbar reviews, modern JBL theater systems support these advanced formats natively, making them future-proof choices for high-end home installations.
Installation and Setup Tips for DIY Enthusiasts
Most of the installation work isn’t rocket science, but skipping prep work causes 80% of DIY audio problems. Here’s how to do it right.
Before you open a box: Plan your cable runs. Trace where speaker wires, HDMI, and power cables will go. Use painter’s tape to mark wall paths. For in-wall work, use a non-invasive stud finder to locate framing, studs, and live electrical outlets. Once you know the clear path, use a drywall saw or rotary tool fitted with a drywall bit to cut cleanly.
Mounting the soundbar: If you’re mounting it to the wall, use a stud finder to locate studs (typically 16 inches on center in walls built after 1970). Drill pilot holes, then secure the mounting bracket with wood screws into the studs. If studs don’t align with your ideal soundbar placement, use heavy-duty toggle bolts or drywall anchors rated for the bar’s weight (usually 8–15 pounds). Don’t skimp here, a falling soundbar damages the TV and creates a safety hazard.
Subwoofer placement: Hard flooring is best: avoid thick carpet directly underneath. Place the sub away from corners if possible, corners amplify bass, which can create muddy, overwhelming low end. If your room is small and corners are your only option, start there and listen for a week. Most people adapt to corner bass quickly, and moving a 50-pound subwoofer isn’t fun.
Surround speaker mounting: Use wall studs when available. If walls are plaster or masonry, use lag bolts with expansion anchors rated for the speaker weight. Drill a pilot hole slightly smaller than the anchor diameter. Insert the anchor, then drive the bolt through the speaker mount bracket. Tighten snugly but don’t over-torque, you can crack old plaster or damage the speaker bracket.
Cable management: Use labeled cable ties (not overly tight) and run wires along baseboards using adhesive-backed clips. This keeps rooms clean and makes future troubleshooting easier. Label both ends of each cable, a 10-second task that saves you 20 minutes of guessing later.
Safety gear: Wear eye protection when drilling overhead or into walls (drywall dust and falling bits are hazards). If drilling into plaster, a dust mask rated for fine particulates helps. Hearing protection isn’t required for setup, but if you’re testing speaker placement at high volume, ear protection during long sessions is wise.
Optimizing Your JBL System for Maximum Performance
Installation is step one. Making your system sound great requires a few tweaks and understanding your room.
Calibration: Most modern JBL systems include a calibration mic or auto-setup feature. Use it. The system measures room acoustics and adjusts speaker levels and delays so sound reaches your ears at the same volume and timing from all directions. This takes 10 minutes and transforms the experience from “sounds okay” to “wow, that’s immersive.”
EQ adjustments: JBL’s companion apps usually let you tweak bass, midrange, and treble. Resist the urge to max everything out. A subtle 2–3 dB boost to bass can improve perceived impact without muddiness. Treble boosts can make dialogue fatiguing in long viewing sessions. Start neutral, watch a familiar movie, and adjust subtly. Most rooms benefit from a small bass lift and flat treble.
Dialogue enhancement: Many JBL systems have a “dialogue boost” or “clear voice” mode. If actors’ speech ever sounds unclear, toggle this on. It emphasizes the center channel and midrange frequencies where voices live. For streaming content with inconsistent mixing (lots of YouTube and older broadcast films suffer this), dialogue mode is a game-changer.
Subwoofer level: Set it so bass feels present but not overwhelming. A common mistake is cranking the sub so explosions shake your house but dialogue gets drowned out. Start at 50% volume, then watch an action scene and a dialogue scene. Adjust until explosions feel impactful and voices remain clear. That’s your sweet spot.
Room treatment (optional): If sound reflections off hard walls or glass create echo, consider soft furnishings. A rug under the seating area, curtains on windows, and soft furniture absorb mid-to-high frequencies and reduce reflections. You don’t need expensive acoustic panels for a living room, a bookshelf, sofa, and area rug do the job. Research on best soundbar setups confirms that room furnishing impacts perceived audio quality as much as speaker hardware.
Content matters: 4K Blu-rays and streaming services like Apple TV+ offer object-based audio (Atmos, DTS:X) that really showcases what your system can do. Test with content designed for immersive audio, documentaries and action films, especially. Compressed streams from basic Netflix or YouTube won’t sound as impressive, but that’s a streaming limitation, not your system.
Conclusion
A JBL home theater system brings genuine cinematic experience within reach for DIY enthusiasts. Whether you start small with a 2.1 soundbar setup or build out a full surround-sound installation, the key is measuring your room, planning your installation, and taking time with calibration. Most homeowners find that thoughtful placement and a few software tweaks make a bigger difference than raw speaker count. Your living room can deliver movie-house immersion, no contractor required.