A kitchen backsplash isn’t just a decorative afterthought, it’s the hardworking surface that protects your walls from splashes, spills, and steam while anchoring your entire kitchen aesthetic. Whether you’re thinking small updates or a full renovation, choosing the right backsplash tile for kitchen spaces transforms the room from purely functional to genuinely inviting. In 2026, homeowners have more kitchen backsplash options than ever before, from timeless ceramic to trending glass and stone materials. This guide walks you through what matters when selecting and installing a backsplash, including practical design direction and honest DIY installation advice.
Table of Contents
ToggleKey Takeaways
- A kitchen backsplash protects your walls from water, grease, and food splatter while serving as a major visual anchor that transforms your kitchen’s aesthetic and can make small spaces feel larger.
- Popular backsplash tile options include affordable ceramic and porcelain ($1–$15 per sq ft), modern glass tile ($8–$20 per sq ft), and premium stone ($10–$25+ per sq ft), each with different durability and maintenance requirements.
- Match your backsplash design to your kitchen style—modern kitchens favor sleek subway or glass tile, traditional spaces work with warm-toned ceramics and decorative accents, and transitional designs bridge both aesthetics for broad appeal.
- DIY backsplash installation is achievable with proper prep, precise measurement, correct mortar consistency, small-section application, and appropriate grouting technique, but professional help is recommended for complex layouts or uneven walls.
- Maintain your backsplash by wiping spills promptly, sealing grout within 72 hours and resealing every 1–3 years, using caulk (not grout) at cabinet edges, and inspecting regularly for loose tiles or failed mortar.
What Is a Kitchen Backsplash and Why It Matters
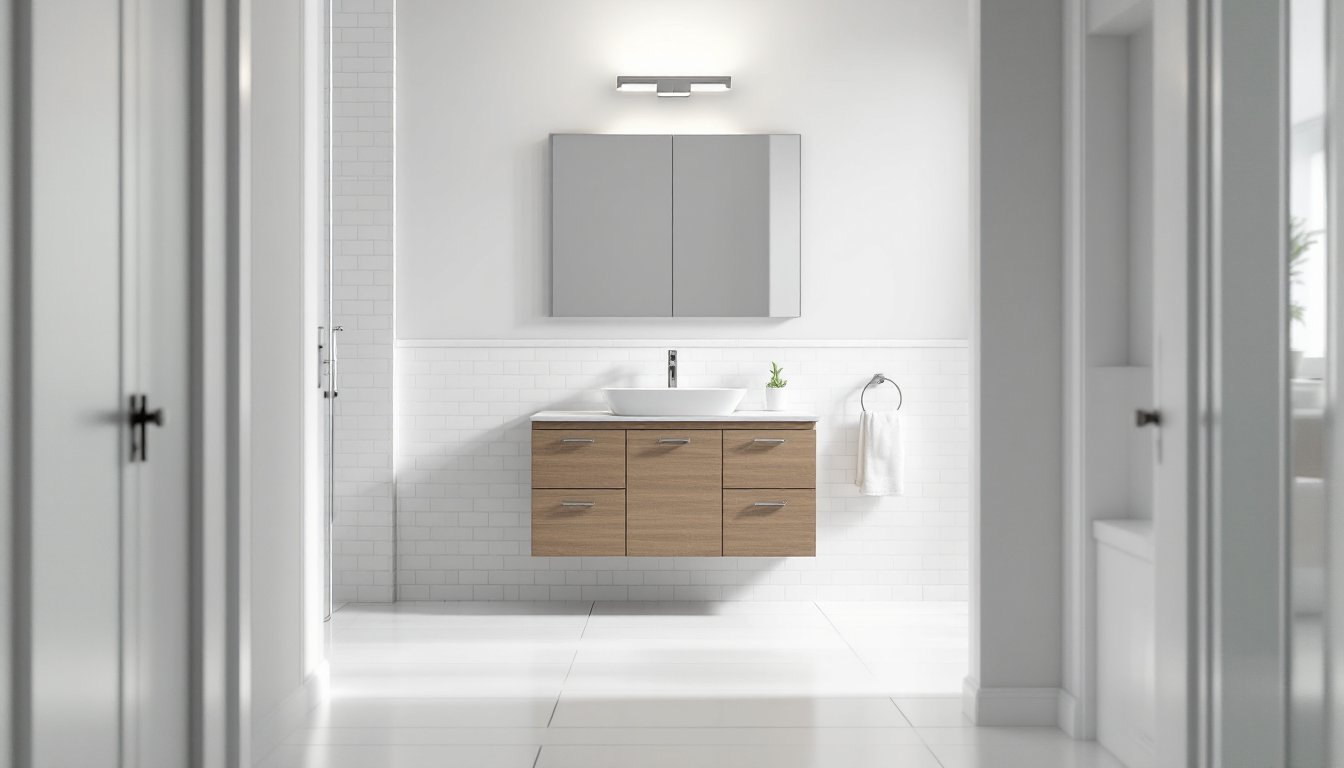
A kitchen backsplash is the wall surface behind your countertop and above your stovetop, typically running from the counter to the underside of your cabinets, usually about 18 inches high. Its primary job is practical: it shields drywall and paint from water, grease, and food splatters that naturally occur during cooking. Without one, you’re looking at stained, damaged walls and difficult-to-clean surfaces within months.
Beyond protection, a backsplash in kitchen design is your biggest visual anchor after cabinets. It fills a prominent, unavoidable zone that catches light and draws the eye. The right kitchen backsplash patterns or materials can visually expand a small kitchen, add warmth to an industrial space, or introduce the color pop a neutral kitchen desperately needs. Installation doesn’t require structural changes or permits in most cases, making it an ideal DIY project or affordable professional upgrade.
Popular Backsplash Materials and Their Benefits
Tile, Stone, and Glass Options
Ceramic and porcelain tile remain the most popular choice for kitchen backsplash tiles because they’re durable, affordable (typically $1–$15 per square foot installed), and come in endless designs. Ceramic is softer and more porous than porcelain: porcelain handles moisture better and suits kitchens prone to splashing. Both resist staining when sealed properly.
Glass tile creates a modern, clean look and reflects light beautifully in smaller kitchens. It’s non-porous, so it won’t harbor bacteria or stain. Expect to pay $8–$20 per square foot. Glass can chip if struck by cookware, and grout lines show dirt more visibly, a trade-off to consider before committing.
Stone (marble, granite, slate) adds luxury and sophistication but demands regular sealing and careful maintenance. Marble etches easily from acidic foods: slate and granite are more forgiving. Stone runs $10–$25+ per square foot. The Kitchn features kitchen design ideas that showcase how stone backsplashes anchor premium renovations while maintaining timeless appeal.
Subway tile (classic 3×6-inch rectangles) bridges traditional and modern styles. Its simplicity and affordability make it a safe default, though it’s become ubiquitous, worth considering if you want something that stands out.
Mosaic and mixed-material options let you blend glass, stone, and metal accents for personality. Installation is more complex and labor-intensive, raising both material and installation costs.
Design Styles to Match Your Kitchen Aesthetic
Modern, Traditional, and Transitional Looks
Modern kitchens pair sleek, glossy subway tile or large-format glass with minimal grout lines and clean geometry. Think neutral grays, whites, and blacks, or bold single-color statements. Thin-set mortar and zero-grout finishes emphasize minimalism. This style works with flat-front cabinets and stainless steel appliances.
Traditional kitchens lean toward warmth: warm-toned ceramic, earth-tone mosaics, or tumbled stone. Decorative tile accents, borders, and hand-painted details add character. Grout is often darker (bronze, charcoal) to highlight individual tiles rather than blend them. This pairs naturally with raised-panel cabinetry and bronze hardware.
Transitional designs bridge both worlds, think neutral subway tile with decorative accents, or a simple grid pattern in warm grays. This flexible approach works in nearly any kitchen and appeals broadly if you’re selling later. Remodelista’s curated kitchen backsplashes showcase minimalist-to-stylish options that sit comfortably in transitional spaces.
Colorful and bold backsplashes are having a moment. Hand-painted tiles, jewel tones, or geometric patterns inject personality and can define a kitchen’s entire feel. Pair bold backsplashes with neutral cabinetry to avoid visual chaos. If you’re concerned about trends fading, choose timeless patterns or colors you genuinely love living with for years.
Before settling on any design, pull reference images and live with them for a week. Digital renders don’t capture how light changes throughout the day or how your actual countertops and cabinets interact with the tile in person.
DIY Installation Tips for Homeowners
Installing a tile backsplash is manageable for confident DIYers but demands precision and patience. Here’s the honest version:
Prep is everything. Remove outlet covers and plates. Turn off power to those outlets at the breaker. Use a stud finder to locate studs behind drywall, you’ll need this for planning cuts and understanding wall structure. Clean the wall surface thoroughly: any grease or dust compromises mortar adhesion. Sand glossy paint lightly or use a primer-bonding agent.
Measure twice, cut once. Dry-lay tiles (arrange without mortar) to finalize your pattern and identify where cuts land. Plan so cut edges sit at cabinet edges, not the middle of a visible wall. Mark your starting point lightly with a pencil.
Mix thin-set mortar to the consistency of peanut butter, thick enough to hold ridges when you drag a notched trowel through it, but not so thick it becomes lumpy. Use a notched trowel (typically 3/16-inch square notch for small tiles, 1/2-inch for larger format) at a 45-degree angle to create consistent ridges. Ridges ensure proper tile coverage and water drainage.
Apply mortar in small sections (no larger than 2 square feet) so it doesn’t dry before tiles set. Press tiles firmly, using spacers for consistent grout lines, typically 1/16-inch for a tight look, up to 3/8-inch for dramatic grout emphasis. A tile spacer tool or even wooden shims help here. Use a tile cutter or wet saw for clean cuts: a wet saw creates the smoothest results and is worth renting ($20–$30 per day) rather than forcing broken edges.
Grout after 24 hours. Mix unsanded grout for grout lines under 1/8-inch: sanded grout for wider lines (it’s stronger and resists cracking). Apply with a grout float at a 45-degree angle, filling joints completely, then diagonal-drag the float across tiles to scrape excess. Wipe tiles with a damp sponge every 15–20 minutes for the first hour: let cure for 72 hours before splashing.
Safety first: Wear safety glasses, a dust mask, and work gloves when cutting tile. Wet saws spray silica, don’t skip the mask. Ventilate: tile dust irritates lungs. If your wall is uneven or heavily damaged, or if you’re tiling around a range or complex layout, hire a professional. Houzz’s 75 kitchen backsplash ideas include professional installations showing clean execution, study these before deciding whether DIY is right for your skill level.
Common mistakes: using wall tile on floors (it chips), applying too much mortar, grouting too soon, and skipping caulk where tile meets cabinets (caulk flexes: grout cracks).
Maintaining Your Backsplash for Long-Lasting Appeal
A well-installed backsplash requires minimal upkeep but does benefit from intentional care. Wipe spills promptly, acidic or greasy splatters sitting on grout can stain over time. Most tile cleans easily with warm water and mild dish soap: a microfiber cloth prevents streaking on glass or glossy finishes.
Grout sealing (usually done 72 hours after installation) prevents staining, especially critical for light-colored grout or natural stone. Reseal every 1–3 years depending on use and product instructions. Unsealed grout in a splash zone will discolor within months.
Avoid harsh abrasives. Vinegar and baking soda work fine, but aggressive scrubbing with steel wool or caustic chemicals can dull grout and damage some stone. For stubborn grout stains, a grout-specific cleaner or oxygen-based product is safer than bleach.
Caulk is your friend. Where tile meets countertop or cabinet edge, caulk (not grout) should flex with seasonal movement. Grout is rigid: it cracks. Reapply caulk every few years as it degrades.
Inspect periodically. Check for loose tiles (tap with a rubber mallet, a hollow sound means the mortar’s failed), cracked grout (more cosmetic unless water seeps behind), or missing sealant. Catching issues early prevents water damage behind the wall.